Need help?
To learn more about features and functions watch the learn Push videos or read the manual. For troubleshooting tips visit the knowledge base.
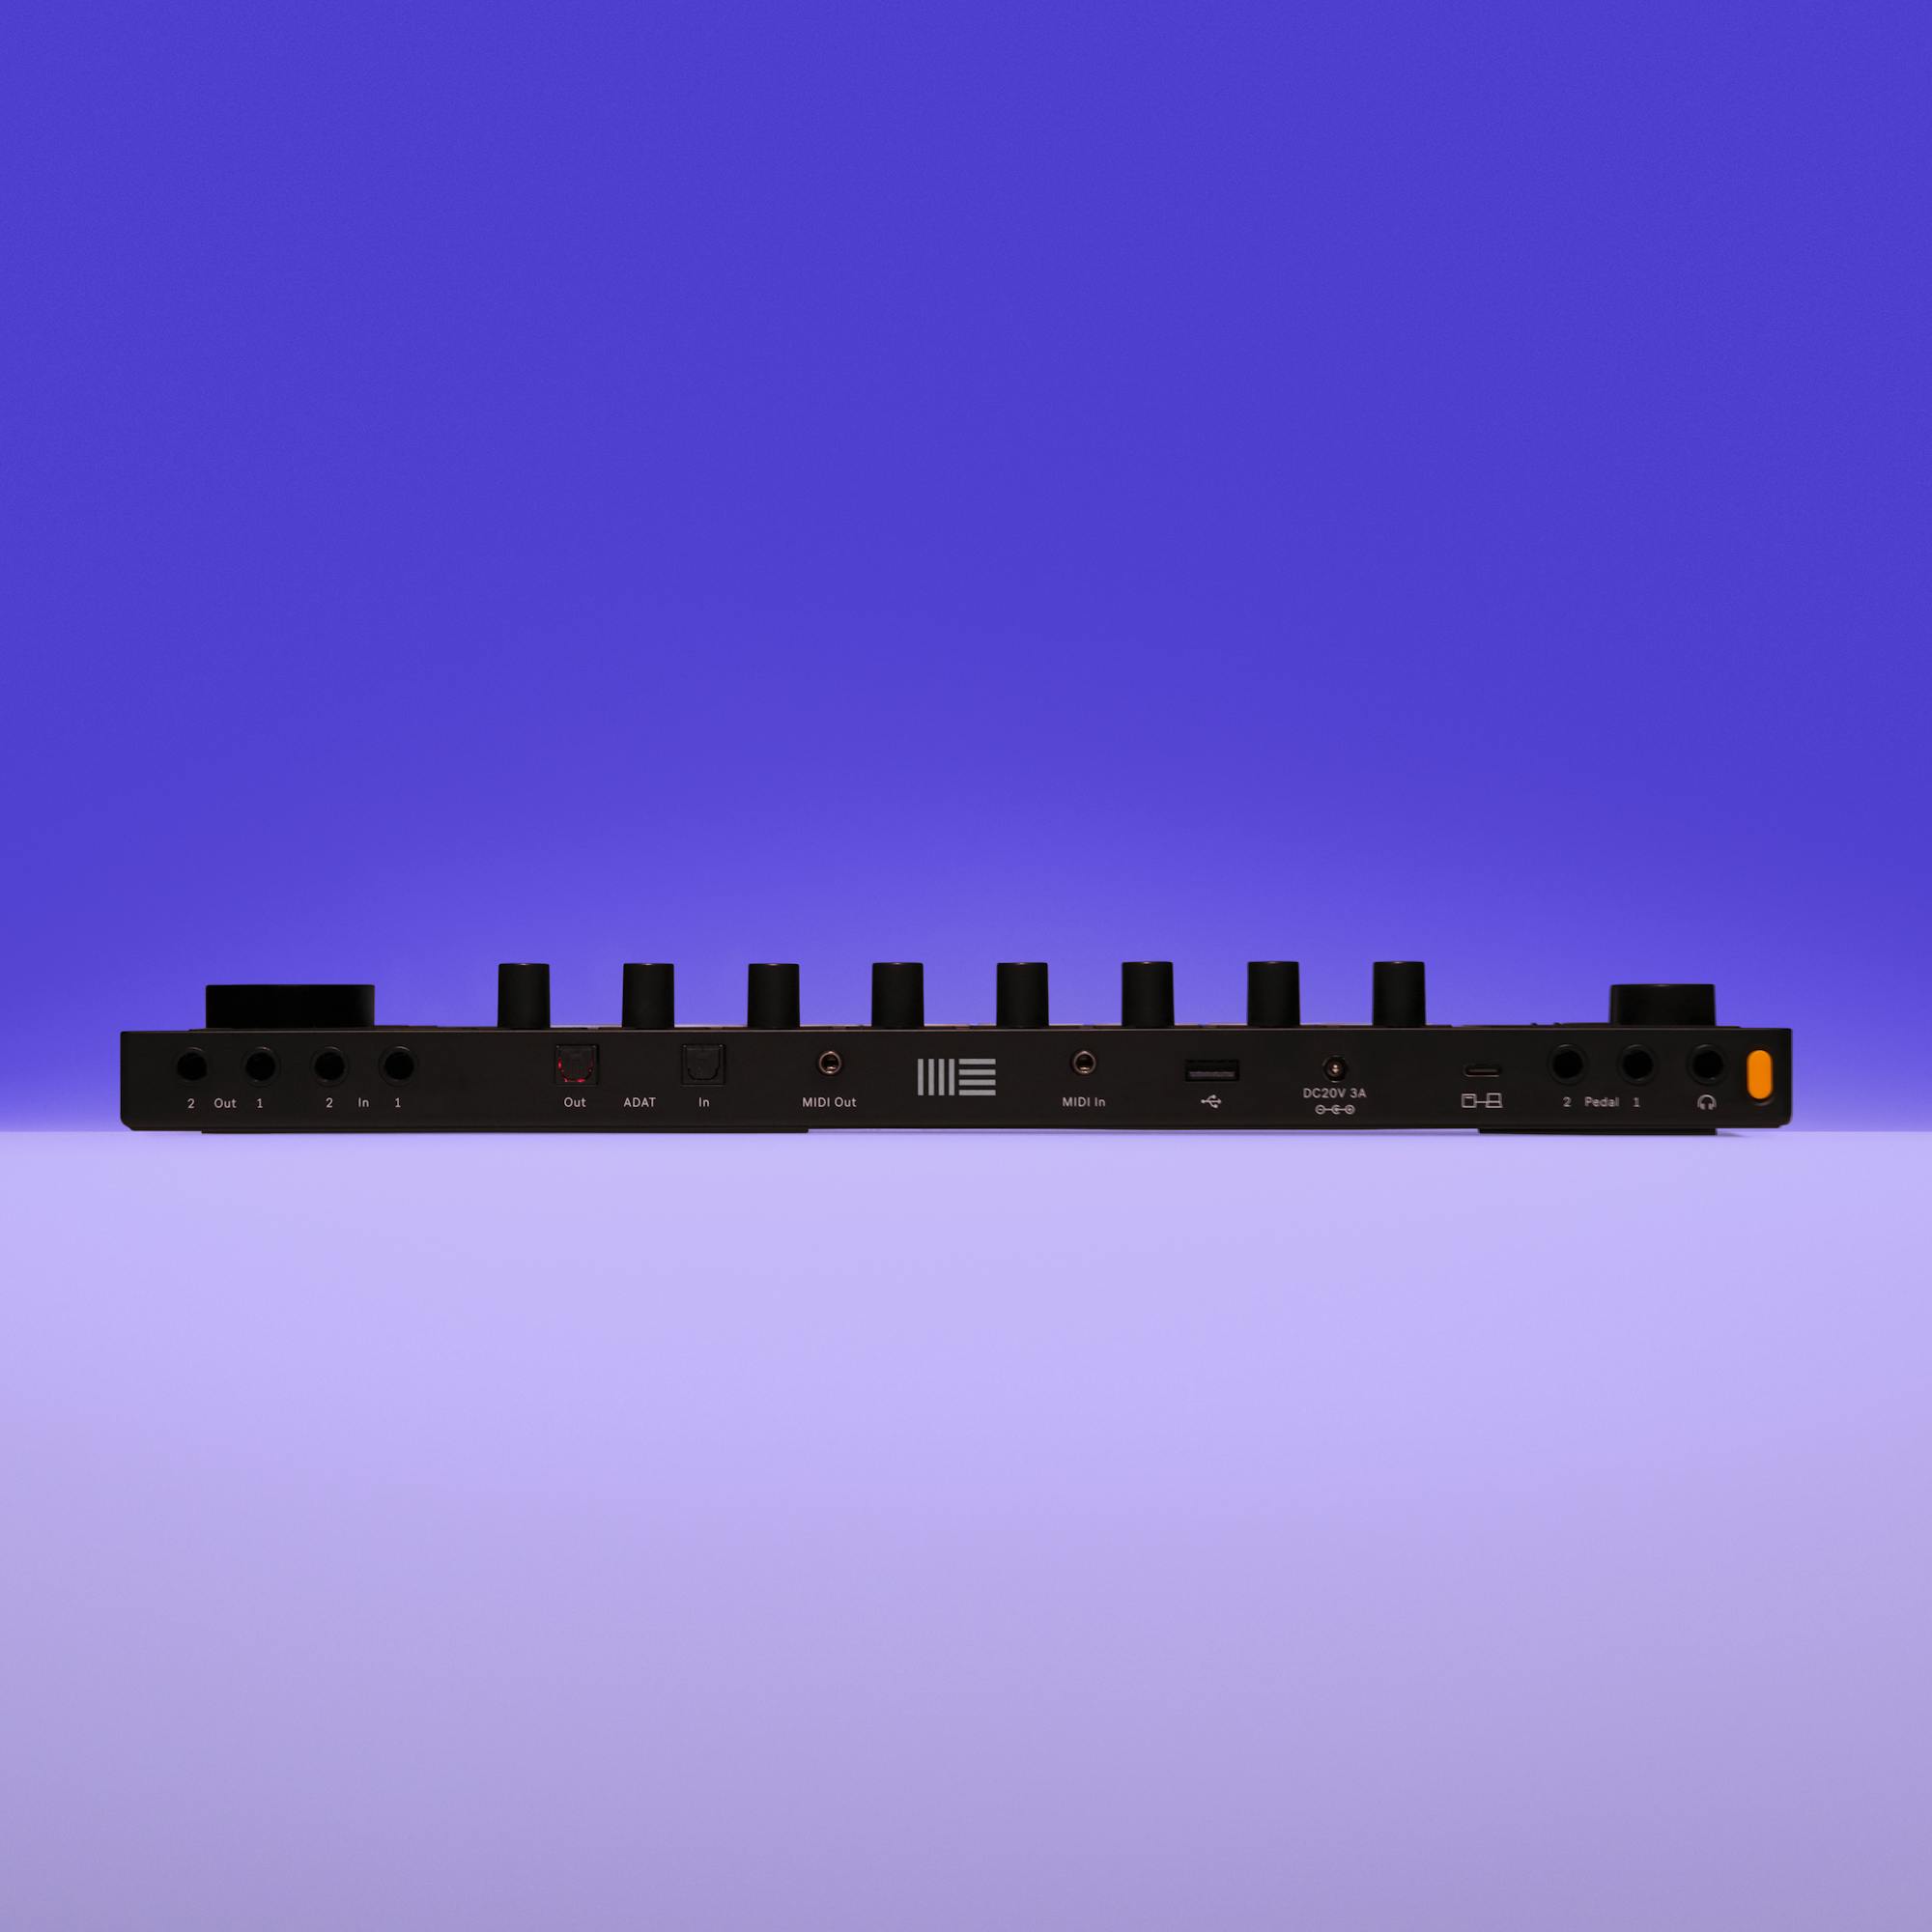
Both Push configurations feature a built-in audio interface with two balanced inputs and two balanced outputs, plus a headphone out for main or cue output. With an ADAT extender, these can be increased to 10 inputs and 12 outputs.
With two inputs switchable between line (balanced) or instrument (unbalanced), and two balanced outputs.
Add an additional 8 inputs or outputs. Expand your setup to include mic preamps, additional instruments and effects, and multiple connections to modular gear.
Via 3.5mm breakout cable (Push MIDI Adapter sold separately).
USB-A for connecting MIDI devices, and USB-C for using Push in Control Mode.
Power your Push, and if yours has a processor charge its battery.
Plug in pedals or send gate, CV or clock signals. With a breakout cable (Push CV Adapter sold separately), you can have up to four signals per jack.
Hear your main output, or set it as a separate cue output for previewing sounds before your audience hears them.
Anything you make using Push in Standalone Mode can be transferred to your computer over WiFi, and opened in Live.
When working in Live, use native devices and you’ll be able to transfer your project back to Push to keep creating or perform in Standalone Mode.
Push comes in two configurations. To use Push as a standalone instrument, order yours with a processor. If you’ll only use Push connected to your computer, you don’t need a processor. If you later decide you’d like to upgrade your Push you can easily add the processor and other standalone components yourself using the Upgrade Kit.
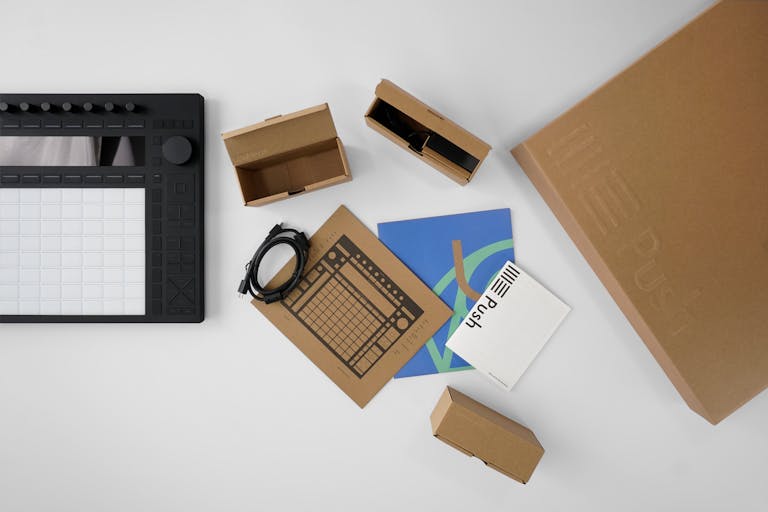
All Push cables are also available to buy separately.
To learn more about features and functions watch the learn Push videos or read the manual. For troubleshooting tips visit the knowledge base.
Yes, you can connect either configuration of Push to your computer to control Live. Learn about Control Mode in the Push Manual.
You can find detailed tech specs for Push’s built-in audio interface in this Help Center article.
Most Ableton-built Max for Live devices will work on your Push in Standalone Mode, as will many third-party devices. However, there are a few exceptions. You can find the details in this Help Center article.
Please note that translating objects for Push is very complex, so we can’t guarantee that all Max for Live devices (including your self-built patches) will work as expected.
If you buy your Push with a processor it’ll come with all the Ableton Live Intro instruments and effects pre-installed for standalone use. You can see a list of included devices here. If you own a Live 11 Standard or Live 11 Suite license already, or buy one with your Push, you can use the instruments and effects belonging to your license.
